
Cryptocurrency. Never thought I would type that word here. You would expect words like bowsaw, hand tools, Disston, brace & bit, Stanley, mallet, plane, etc. But not cryptocurrency. Heck, I didn’t even know the word existed when I started this blog. But, nevertheless, here it is in black and white.
This blog entry is about blending two of my interests: traditional woodworking and technology. In other words, for me, a fun project. We’ll just discuss the old/woodworking stuff here, and spare you the SSDs and PCIEs and USBs.
So how do I blend woodworking with this hi-tech financial wizardry? Well, the computer mining rigs that are used generate a lot of heat, and therefore they need to be in an open-air rack rather than in a computer case. But instead of buying a rack for several hundred dollars, I decided to build a wooden one with traditional joinery.
But before getting in to the interesting stuff, I have a confession to make. I used MDF in this project for the base. You can leave now if you find that offensive. It’s just one of those things – it was the most practical thing to use for this application.
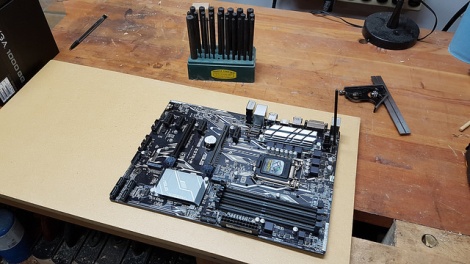
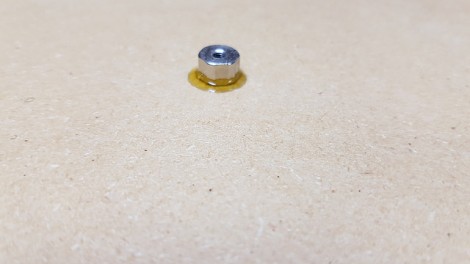
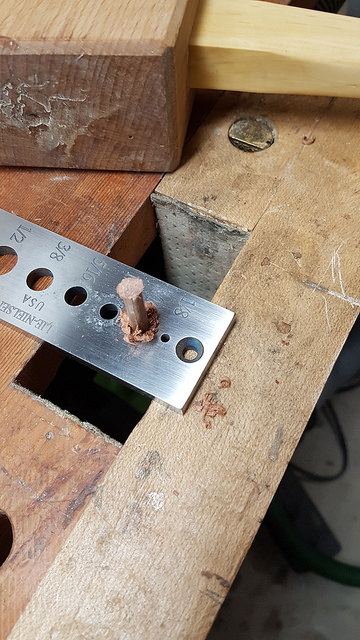
I did put 3 coats of water base varnish on the MDF to make it easier to blow dust off and a little nicer to handle. It’s 12″ x 24 1/2″, half inch thick. In the picture below the motherboard is sitting on the MDF and I’m getting ready to locate standoffs to attach the motherboard to the MDF base. The standoffs are held in with West System epoxy.
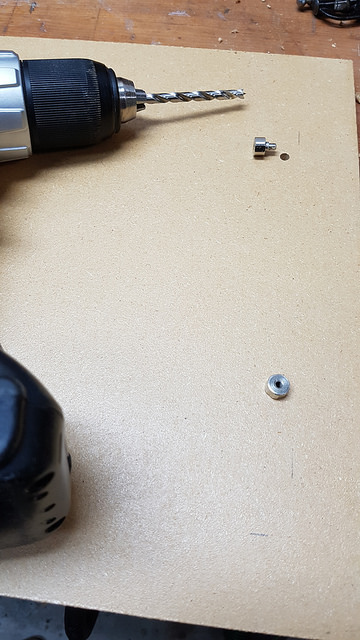
It’s a good idea to put some epoxy in the holes and let it soak for a few minutes, then re-fill the hole. Some will absorb into the MDF. I also puddled the epoxy around the standoffs, just to make sure they were well connected.
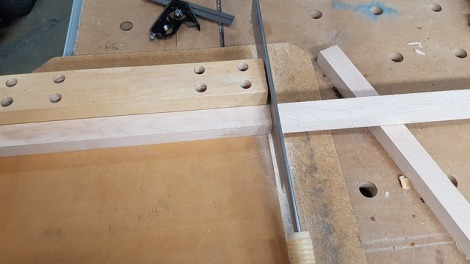
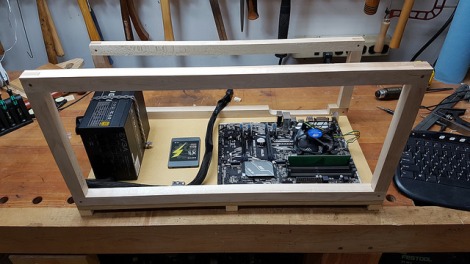
The motherboard, power supply and hard drive (that would be the SSD – sorry!) are attached to the base, and 6 video cards are suspended above by the wooden racks. I used maple and sycamore scraps, about 1″x1″ to build the racks. There is a front rack and a back rack, and they are basically just frames held together with drawbored bridle joints.
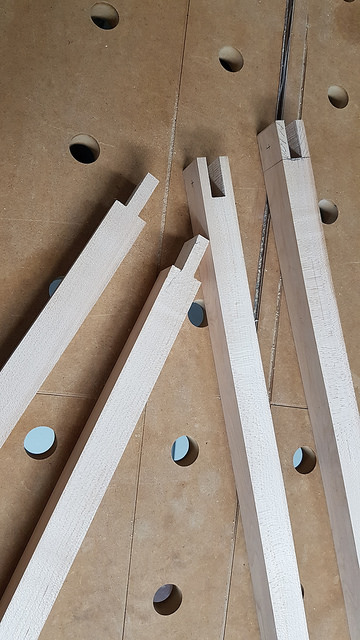
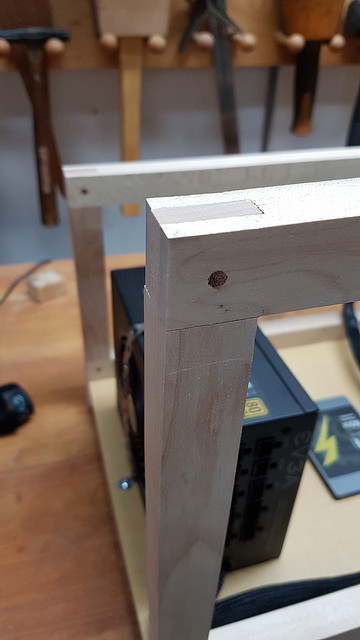
I drawbored the joints with hardwood dowels, I think this one is cherry
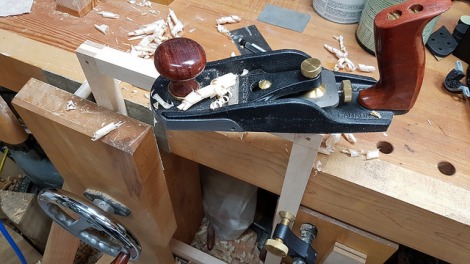
After assembly, the racks were cleaned up with a smoothing plane.
Attaching the first rack. They were glued and screwed from the bottom. I also glued on some pine blocks for feet.

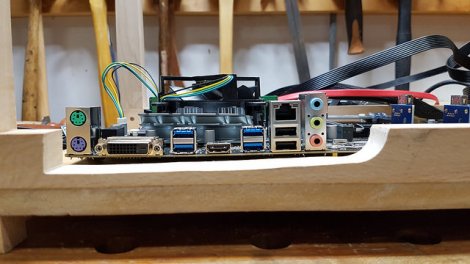
One of the issues I did not anticipate was the bottom or the rack was right in front of some of the connection ports on the motherboard, so I had to do some surgery and carve away some of that nice sycamore. I carved away as little as possible, to preserve structural integrity but still give room to access the ports. If I build another, I’ll lift the motherboard a little further so the surgery won’t be necessary.
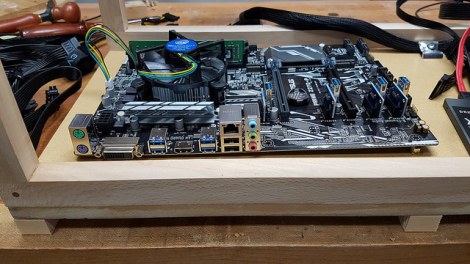
Here it is with the wooden rack fully assembled and the motherboard, hard drive and power supply in place. This rack is really sturdy!
And here’s a money shot of one of those bridle joints.
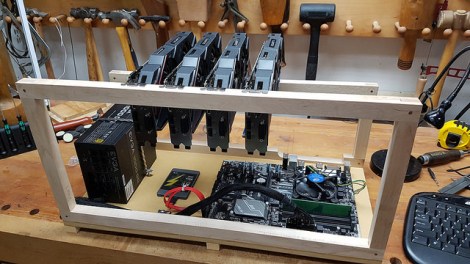
Four video cards are in place here. No cables yet – that’s when it turns into an unholy mess.
See – told ya – it’s just a bird’s nest, a virtual high-tech Medusa.
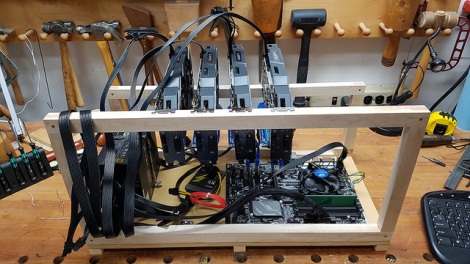
The rig is up and running, generating hashes and whatever other wizardry is needed to mine digital coins. And it’s all held together with traditional woodworking joints. I like that.
